just volleyball Techniques Guide: Every Serve, Set, Spike and Block
Complete technical reference for every serve, set, spike, and block technique in just volleyball with exact inputs and timing constants.
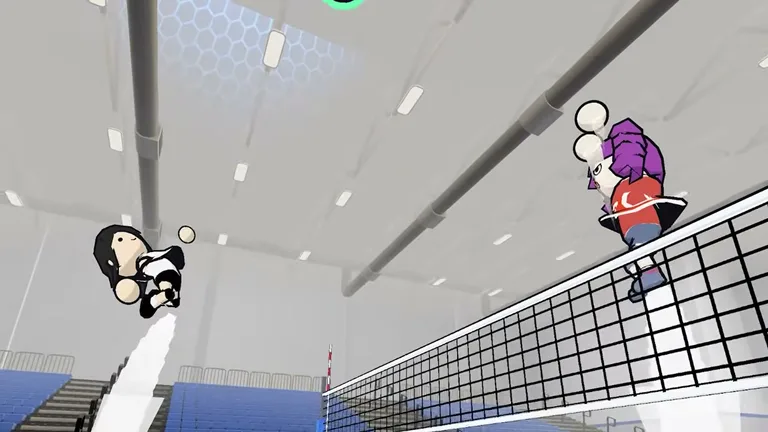
Becoming proficient in just volleyball requires understanding foundational mechanics alongside advanced techniques.
Coordinate team tactics alongside core beginner basics. For keybind setups and sensitivity options, check our controls reference. Practice specialized drills and training routines in our drills catalog.
Table of Contents
- Movement techniques
- Serving arsenal
- Receiving and defensive saves
- Setting distribution and attack pacing
- Spiking and aerial attack
- Net defense and blocking
- Controller aiming and recenter
- Technique summary reference
Movement Techniques
Ground movement in just volleyball handles basic repositioning with distinctive handling quirks. Standard running moves your character at a base speed of 5.9 m/s across the floor. Engaging the strafe mechanic eliminates horizontal momentum to pivot cleanly, locking your facing direction toward the cursor. While strafing, movement operates at a 0.88x speed multiplier.
Double tapping a movement direction or holding sprint provides an accelerated burst across the floor. Sprinting scales running velocity by a 1.25x speed multiplier. Low jumps trigger on brief taps while high jumps demand charging the jump input.
Releasing the jump button when the jump meter flashes white converts a charged leap into a bam jump. Once the jump meter is full, a delay of 0.7 seconds elapses before the white flash begins. A warning glow shines on the indicator ring with a lead time of 0.25 seconds before the flash. Releasing the input within a timing window of 0.2 seconds secures the leap. A successful bam jump multiplies take-off vertical velocity by a jump multiplier of 1.28x.
Every player has a maximum stamina pool of 100.0 stamina points. Diving and sprinting are the only two actions that consume stamina. Continuous sprinting drains stamina at a rate of 36.0 stamina points per second. Depleting all stamina drops the player into a burn out state. Entering burnout imposes a recovery pause penalty of 0.5 seconds before regeneration begins. Standing still replenishes stamina at a baseline rate of 13.0 stamina points per second.
Review directional pivots in our guide on strafing. Learn vertical leap timing in our guide on bam jumps. Manage energy conservation in our stamina guide. For foundational court navigation, consult our comprehensive movement guide.
Serving Arsenal
Serving starts every rally by tossing the ball upward from behind the baseline. Standard match rules enforce a strict serve clock deadline of 15 seconds to put the ball in play. Executing a standard standing serve involves tossing the ball and bumping it over while remaining on the floor.
Jump serves demand tossing forward from deep behind the baseline and timing a running approach before takeoff. Reaching a full approach speed of 4.4 m/s maximizes impact power on jump serves. Approaches falling below a minimum approach speed of 2.4 m/s deliver reduced offensive power.
Tilting your torso backward while airborne during service contact produces a floating trajectory. Executing a floater applies a backward torso tilt angle threshold of 0.45. A fast float serve reaches the opponent court in 1.1 seconds. High-arching float serves float across the net over a flight duration of 1.6 seconds.
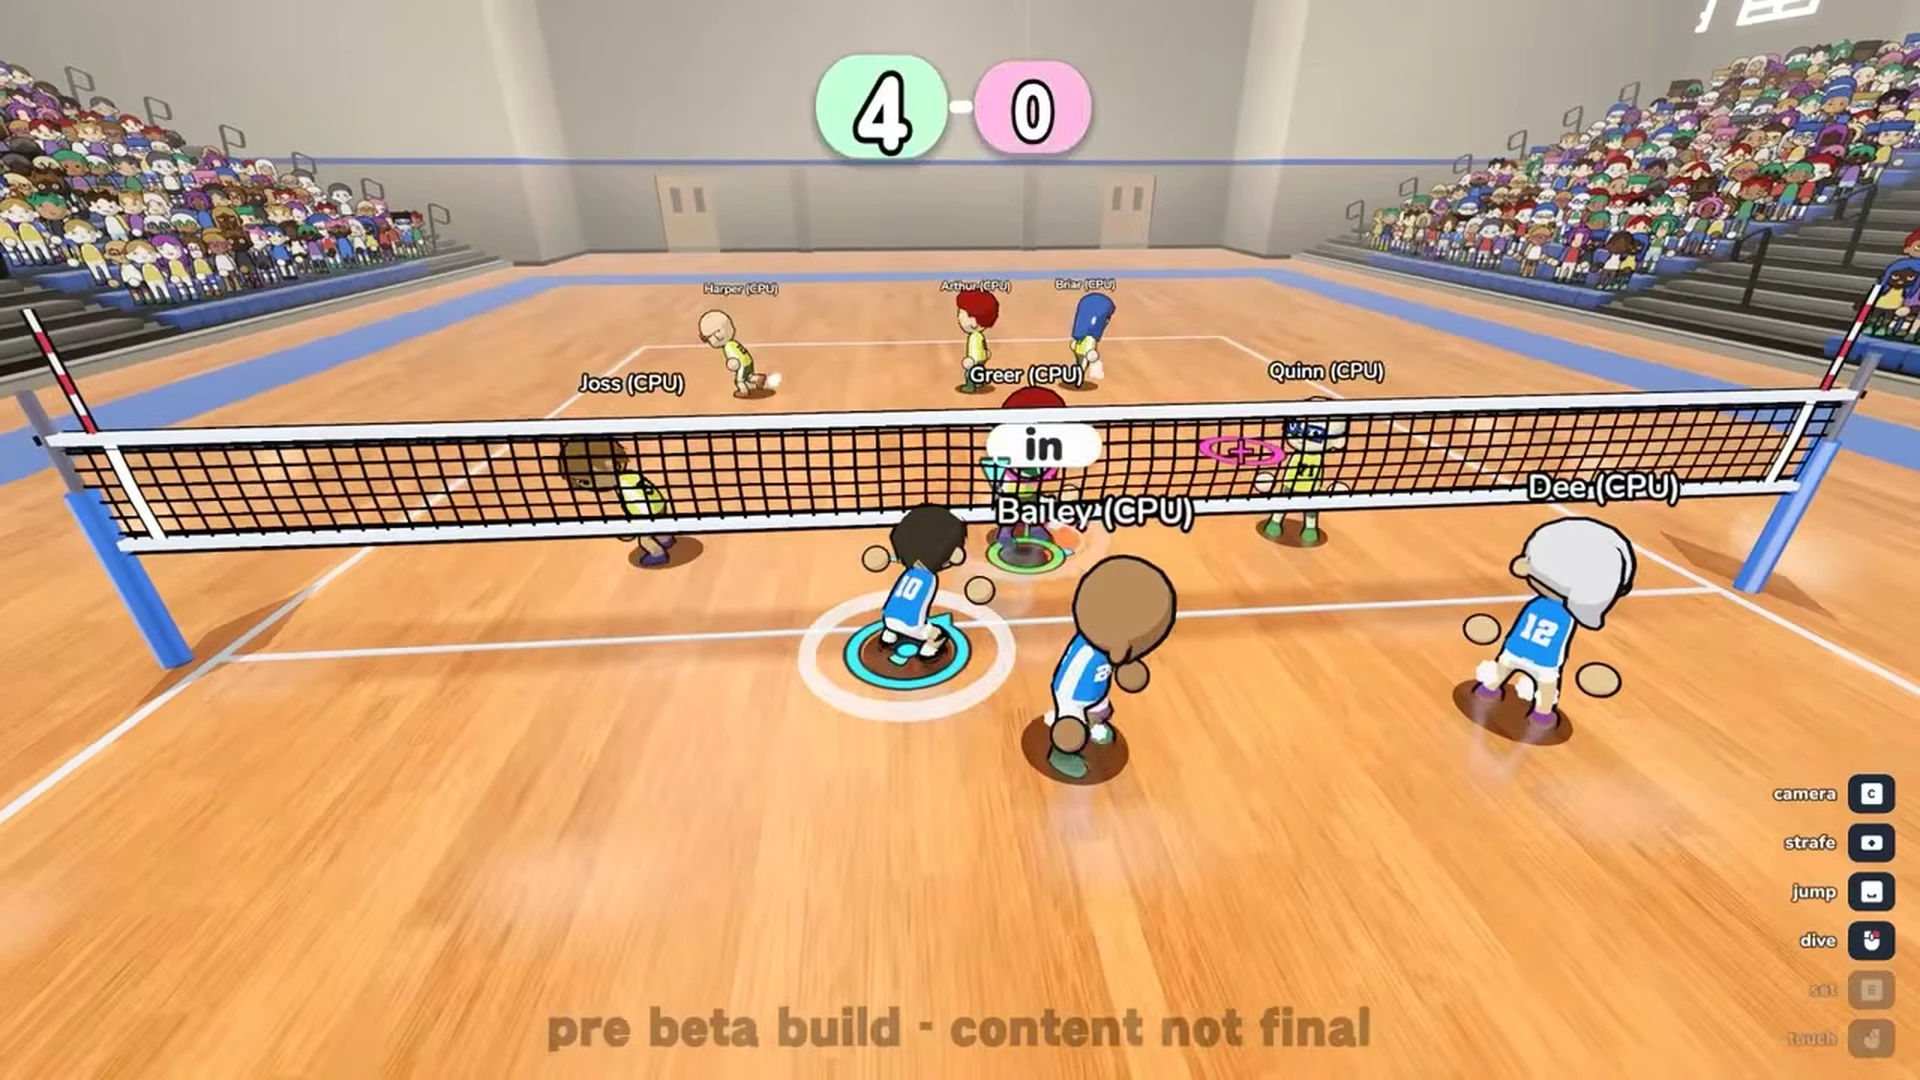
Master running approaches in our jump serve guide. Learn knuckling trajectory control in our jump floater guide. Track service deadlines in our serve timer guide. Explore all serve variations in our detailed serving guide.
Receiving and Defensive Saves
Clean receiving depends on reading attacker tendencies and establishing early court positioning. Holding defensive contact while remaining stationary provides a stability bonus to pass quality. Standard defensive positioning offers an active receive window of 0.55 seconds. Holding the receive input in advance extends the defensive preparation window to 1.05 seconds.
Diving serves as an emergency defensive mechanic when ball placement outpaces standard footwork. Activating a dive propels the player across the floor at a slide speed of 15.5 m/s. Completing a dive slide triggers a cooldown delay of 5.0 seconds before another dive can be initiated. Each dive execution expends a fixed stamina cost of 45.0 stamina points.
Master slide timing in our guide on diving. Learn dig mechanics against power hits in our guide on receiving a spike. Review complete back-row defensive fundamentals in our receiving and diving guide.
Setting Distribution and Attack Pacing
Setting functions as the second team touch to control rally tempo and orchestrate attacking opportunities. Positioning the aiming reticle directly on your player while charging releases a high set. Standard high sets reach a vertical apex arrival height of 3.0 meters.
Charging the set button while aiming toward open court executes a quick tempo pass. A quick set accelerates rapidly to a maximum pass velocity of 34.0 m/s. Low quick tempo sets travel across the net tape with an arrival height of 4.0 meters.
Setters can jump set while airborne to accelerate offensive timing and match approaching spikers. Tilting forward on an airborne jump set near the net converts the pass into an offensive setter dump. A tapped setter dump produces an apex rise of 2.8 meters above the net tape. Forward dumps clear the net with a minimum target depth of 0.6 meters into opponent territory.
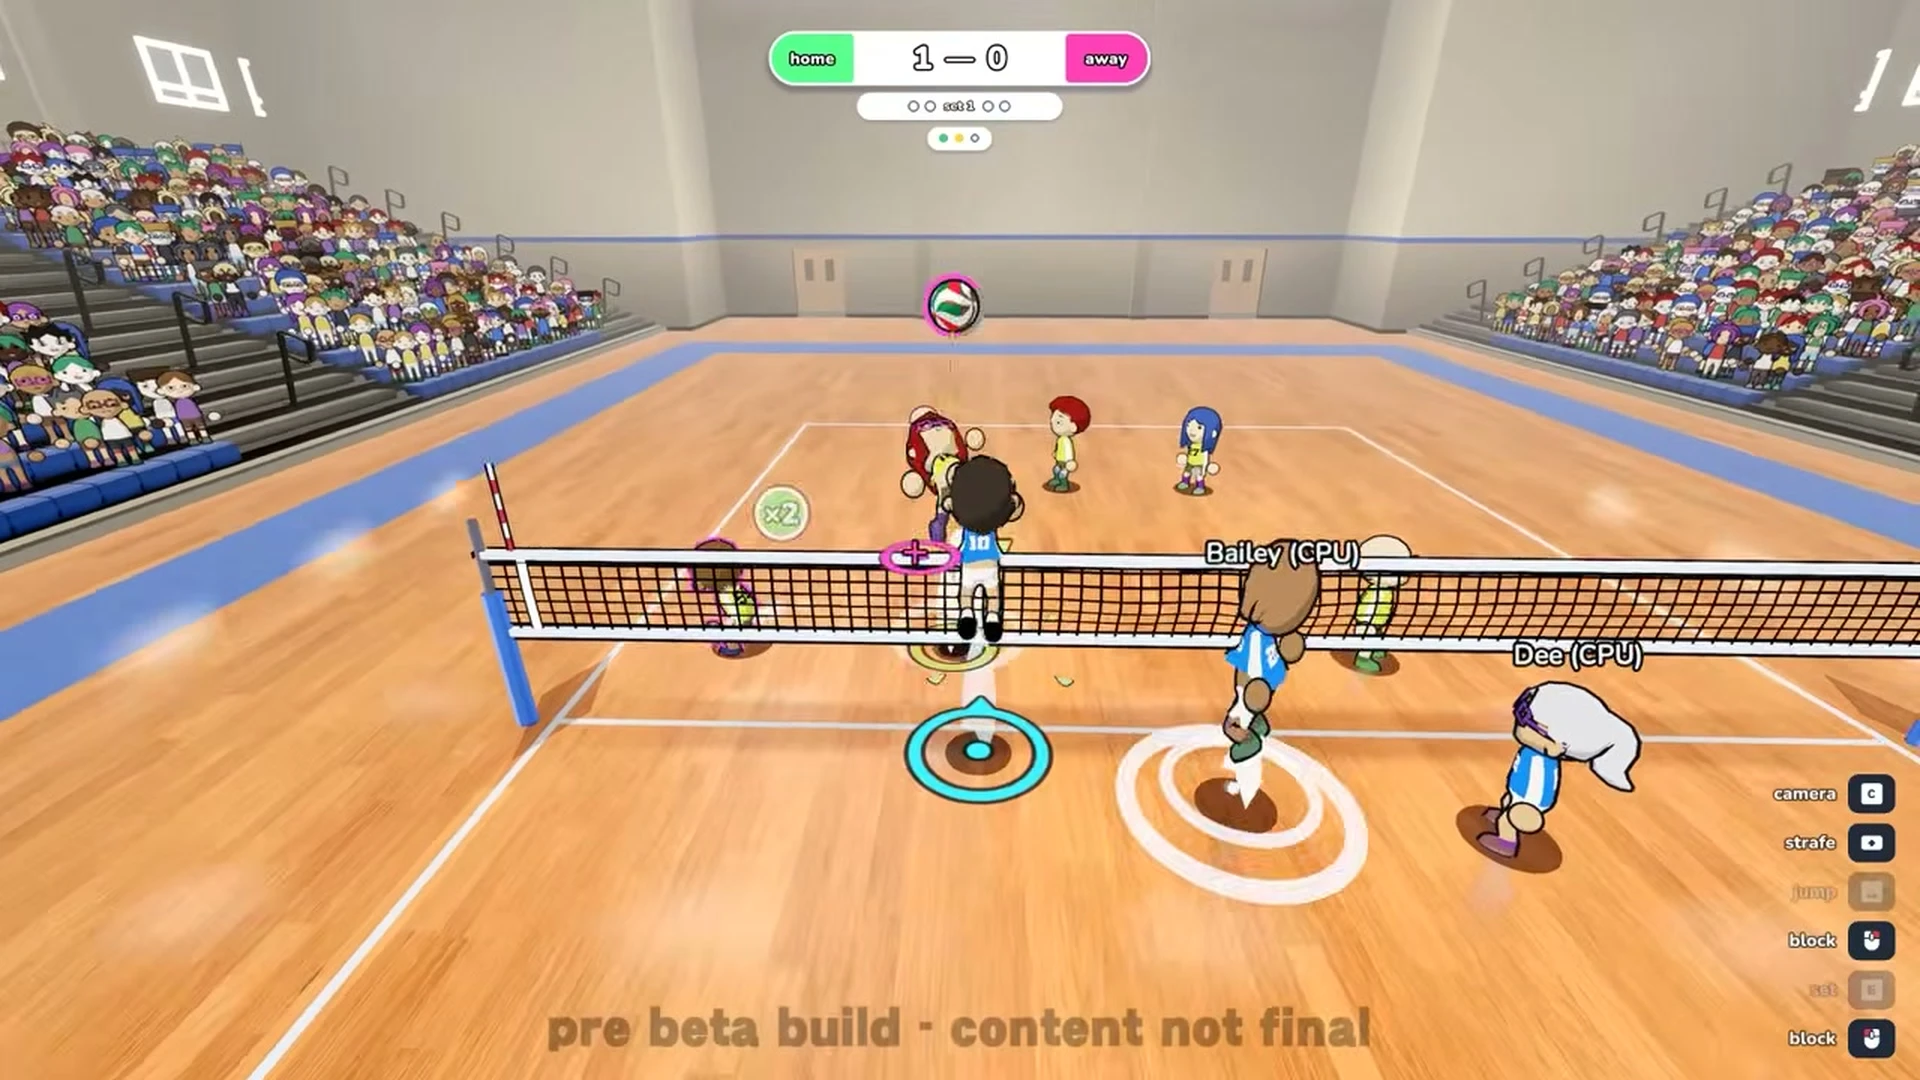
Learn fast tempo distribution in our quick set guide. Master arching passes in our high set guide. Review airborne passing mechanics in our jump set guide. Study second-touch offensive attacks in our setter dump guide. For full playmaking mechanics, visit our complete setting guide.
Spiking and Aerial Attack
Spiking represents the decisive third touch of an offensive possession and requires airborne elevation. Striking the volleyball precisely at the apex of your jump produces maximum power regardless of charge duration. Hitting an attack on the third team touch grants a 1.2x combo bonus multiplier to spike power. Uncharged soft touches register an attack velocity of 8.0 m/s. Perfectly timed apex strikes drive the ball downward at a maximum velocity of 30.0 m/s.
Tilting your character sideways while airborne applies curve to bend spikes around opposing defenders. In-air lateral tilting imparts an aerodynamic curve strength factor of 12.0 to attack trajectories.
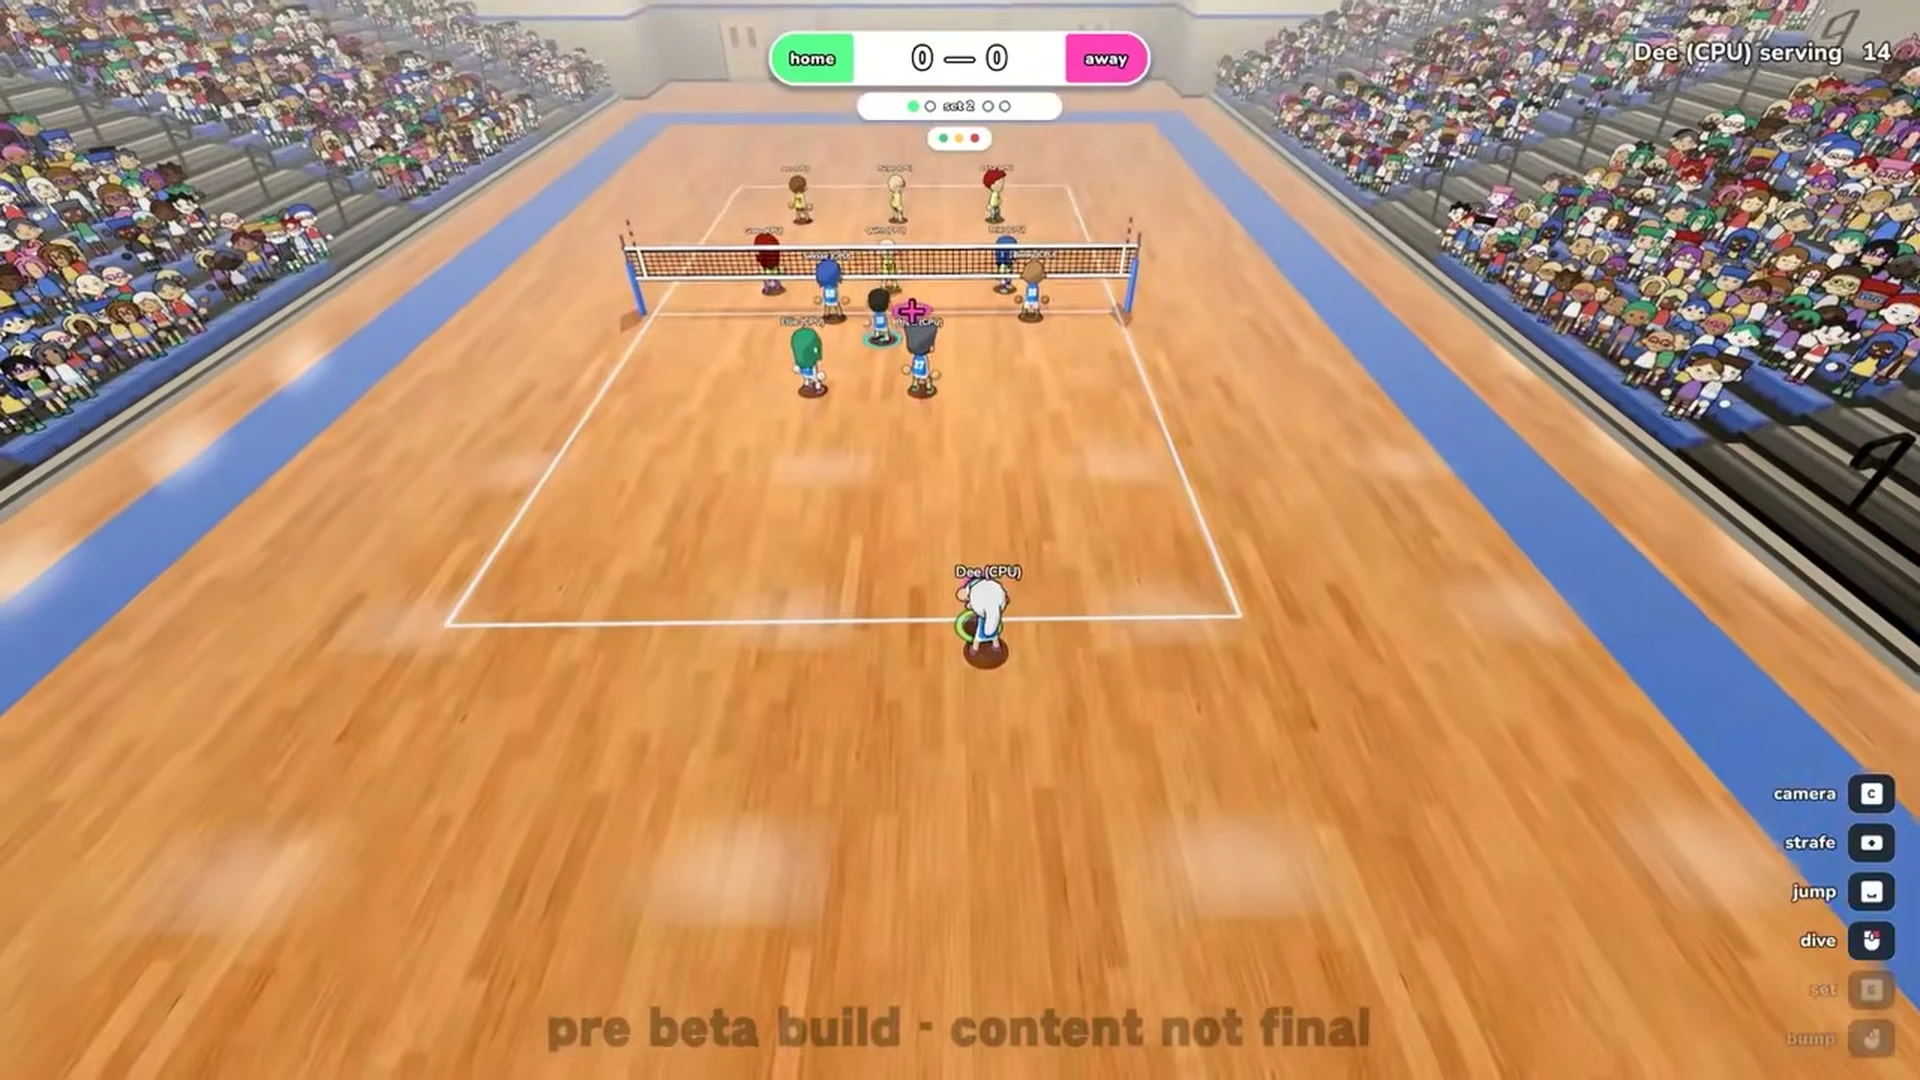
Maximize strike speed in our guide on how to spike harder. Learn flight trajectory curves in our guide on tilting spikes. Consult our comprehensive spiking guide for complete offensive playbooks.
Net Defense and Blocking
Blocking forms the primary front-row defense to reject incoming spikes back onto the opponent floor. The regulation net barrier stands at a height of 2.2 meters across the court centerline. Antenna rods restrict playable crossing space to an antenna half width of 4.5 meters. Well-timed blocks drive the volleyball downward toward the direction of your cursor reticle. Perfect blocking defense requires contesting incoming spikes within a timing window of 0.26 seconds.
Blockers must square up directly toward the hitter to prevent powerful attacks from shattering their defense. Offensive spikes carrying impact force above 0.82 break through mistimed blocks and knock defenders down. Airborne blockers can readjust hand orientation using an angular turn weight of 1.6.
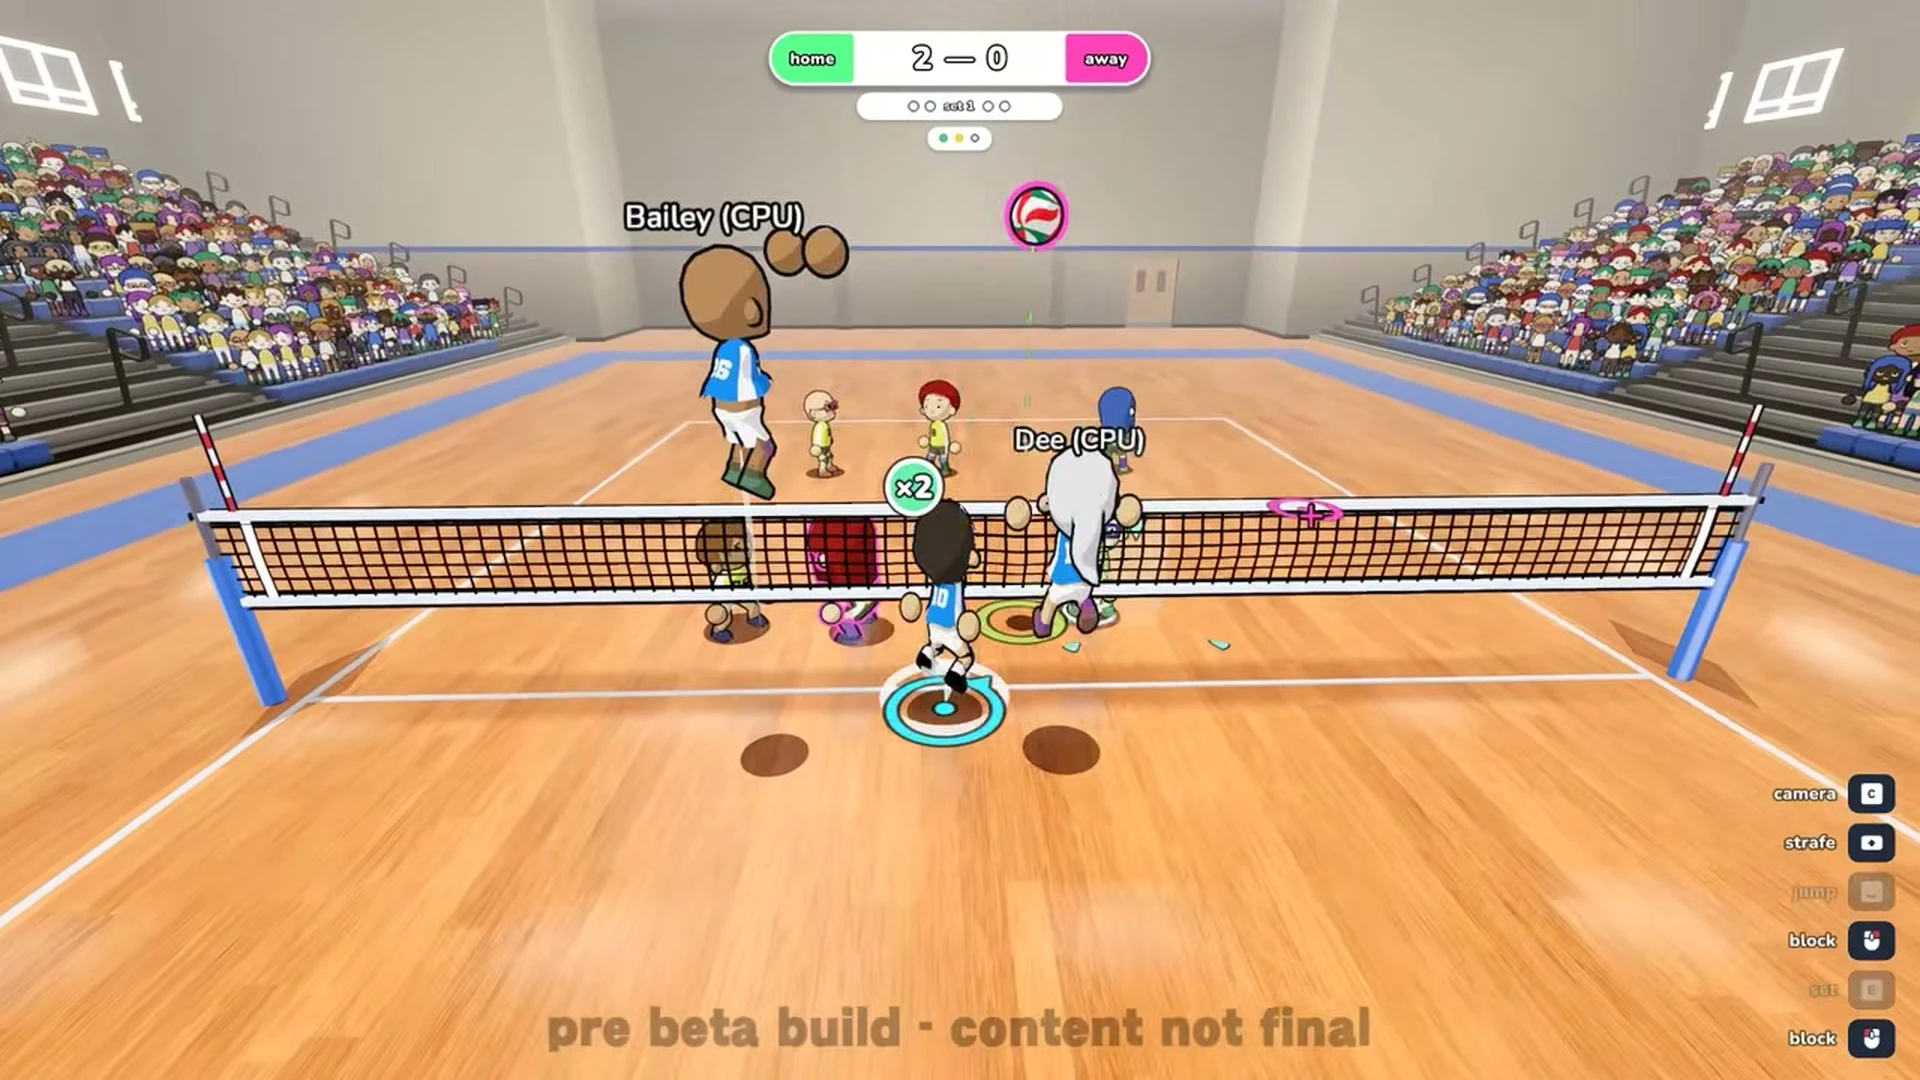
Master wall timing in our dedicated blocking guide. Review team net coverage in our tactical front row defense guide.
Controller Aiming and Recenter
Playing on a controller maps aim positioning to the right stick where the reticle remains placed. Default controller analog responsiveness operates at a stick sensitivity value of 1.0.
Learn stick snapping mechanics in our aim recentering guide. Review gamepad setup in our controller guide.
Technique Summary Reference
| Technique | Input | Key timing and constants | Strategic use | Detailed guide link |
|---|---|---|---|---|
| Ground running | Directional movement | 5.9 m/s base speed | Standard repositioning across the floor | movement guide |
| Strafe deceleration | Shift or LT / L2 | 0.88x speed multiplier | Instant stop and lock facing toward aim reticle | how to strafe |
| Sprint acceleration | Double tap direction or Ctrl | 1.25x speed multiplier | Fast pursuit across open court space | sprint and stamina |
| BAM jump launch | Release jump during flash | 1.28x vertical velocity multiplier | Boosted vertical jump takeoff | how to bam jump |
| Standard serve | Toss then contact from floor | 15 seconds serve clock | Safe baseline delivery over the tape | serve timer |
| Jump serve | Full runup and apex strike | 4.4 m/s approach speed | Top spin attack into opponent court | jump serve |
| Jump floater | Backward tilt mid air | 0.45 torso tilt threshold | Unpredictable flight path that dips abruptly | jump floater |
| Bump receive | Hold contact while still | 0.55 seconds receive window | Controlled first touch pop up | receiving a spike |
| Floor dive | Right click or B / Circle | 15.5 m/s slide speed | Emergency ground rescue on distant spikes | how to dive |
| High set | Charge set aimed on self | 3.0 meters arrival height | Slow arching delivery allowing spikers time to approach | high set |
| Quick set | Charge set aimed away | 34.0 m/s maximum velocity | Rapid horizontal tempo pass to beat opposing blocks | quick set |
| Jump set | Press set while airborne | 1.0 charge threshold | Aerial delivery that speeds up attack timing | jump set |
| Setter dump | Forward tilt set across net | 2.8 meters apex rise | Surprise second touch tip into opponent territory | setter dump |
| Apex spike | Strike contact at jump peak | 30.0 m/s maximum velocity | Downward kill strike | how to spike harder |
| Lateral tilt spike | Mid air left or right movement | 12.0 curve strength | Sharp angle attacking around defensive blocks | how to tilt a spike |
| Net block | Jump and present hands at net | 0.26 seconds timing window | Front row roof rejection on opponent attacks | how to block |
| Aim recenter | Press Q or RB / R1 | 1.0 stick sensitivity | Instantly snaps controller reticle to player position | aim recentering |