just volleyball Spiking Guide: Jump Timing, Angles, and Block Counters
Master jump spikes, apex timing, mid-air shot angles, and tools to overcome defensive blocks in just volleyball matches.
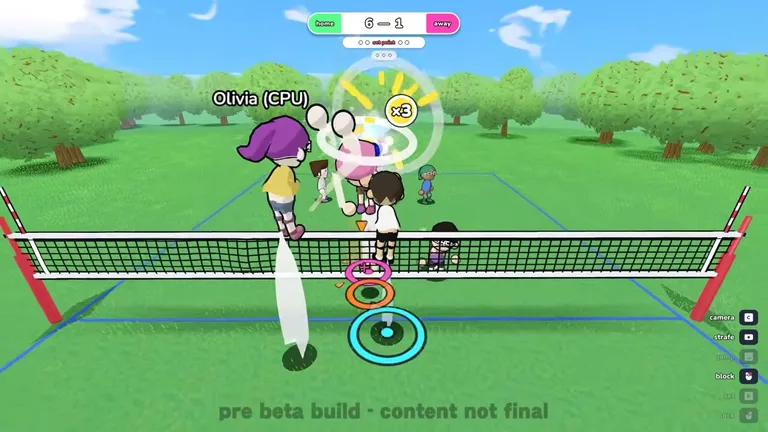
Core Spike Mechanics and Airborne Execution
Attacking represents the primary third touch of a standard offensive possession. A spiker must leave the floor and achieve airborne positioning before triggering an attack. Holding your assigned contact input charges power, which releases once sufficient strength is accumulated. Aiming your cursor across the net is mandatory upon release to prevent driving the ball directly into your own court. Briefly tapping the contact key produces merely a weak lob rather than an aggressive spike. Lurking beside the net and repeatedly spamming button presses fails to yield effective attacks. For setting up offensive spikes from teammate passes, check high sets and quick tempo passes. For an overview of all aerial executions and timing windows, read our techniques guide.
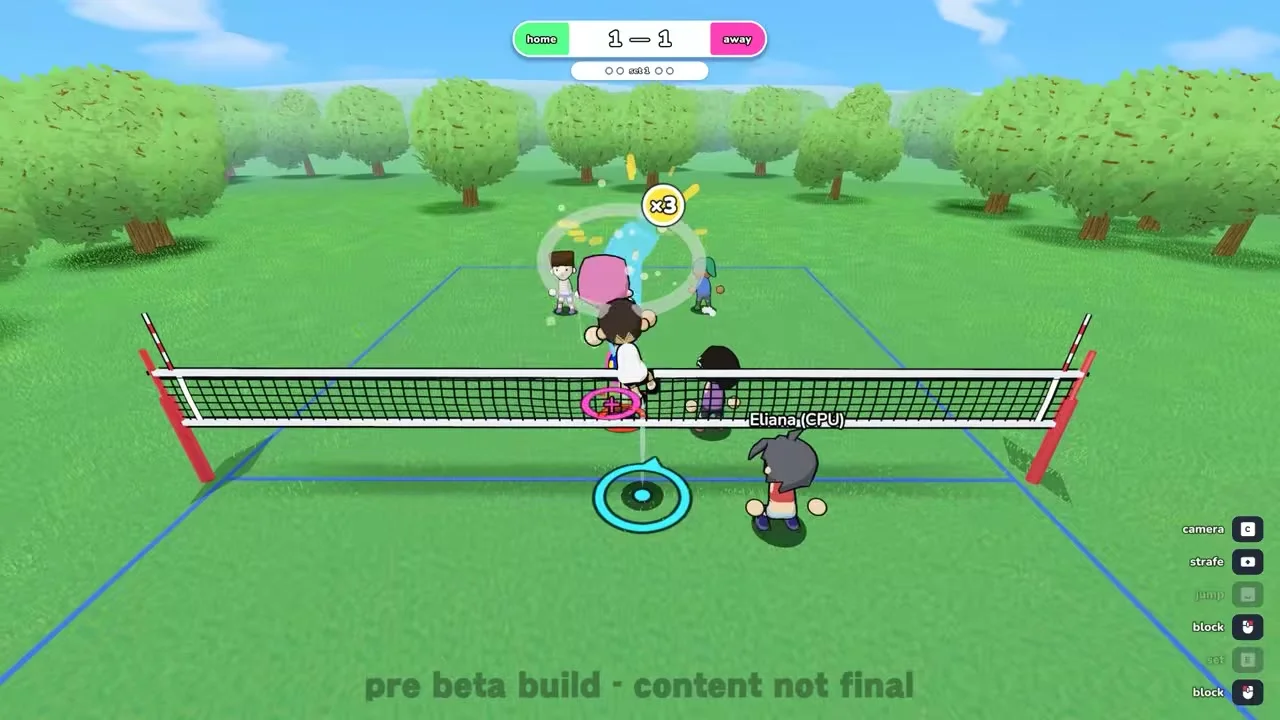
Jump Apex Timing and Attack Power
Simply holding the charge button by itself cannot produce maximum strike velocity. Striking the volleyball precisely at the highest apex of your leap provides full power regardless of prior charge duration. Sprinting toward your designated target prior to jumping adds substantial kinetic force to the strike. Executing your spike on the third team touch grants a 1.2 combo multiplier to attack momentum. Uncharged soft spikes register minimal travel velocity beginning at 8.0 units. Full power apex strikes accelerate the volleyball up to a maximum velocity of 30.0 units. To compare offensive leap timing with serve approaches, see jump serves and floaters.
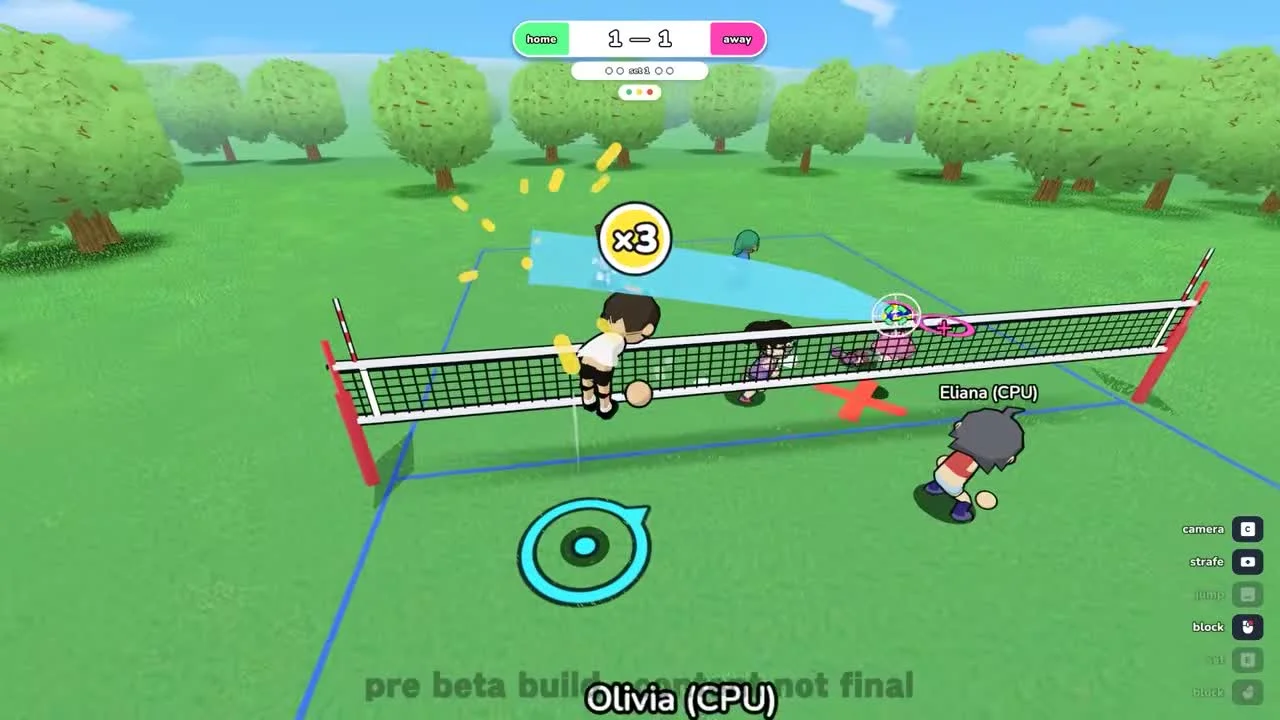
Mid-Air Tilting and Shot Placement
Leaning your character laterally to the left or right while airborne bends the trajectory with sharp spin. Tilting forward at contact drives a flatter and quicker spike downward into the opponent court. Leaning backward during contact lifts the ball higher while softening impact velocity. Smart spikers scan court positioning to choose between a straight line drive or an angled cross shot. Reading defensive formations proves far more reliable than recklessly swinging with maximum power on every possession. For baseline margins and side out rules, consult court boundaries and fault rules.
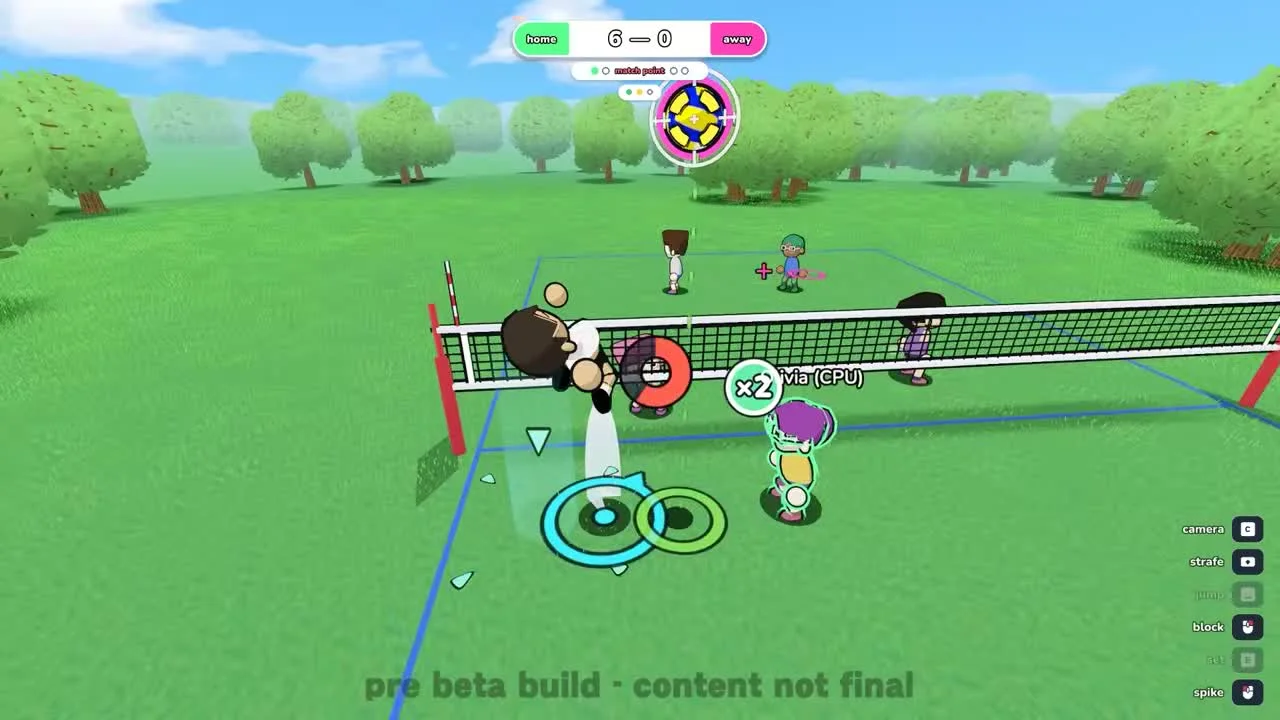
Attacking Against the Defensive Block
Offensive attacking involves strategic tactics beyond simply trying to slam the ball directly onto the floor. Spikers can actively shatter an opposing block if the defender positions at a flawed defensive angle. Attacking from an elevated position above opposing hands enables spikers to force an intentional wipe. Tapping your contact input against a tardy blocker produces a controlled rebound. If opposing blockers establish positioning on time, the ball dies immediately against their hands, and a flawless block always prevails. For mastering net defense and positioning, explore timing jumps at the net.