just volleyball Beginner's Guide
Comprehensive first-match walkthrough from game launch to winning a set in just volleyball.
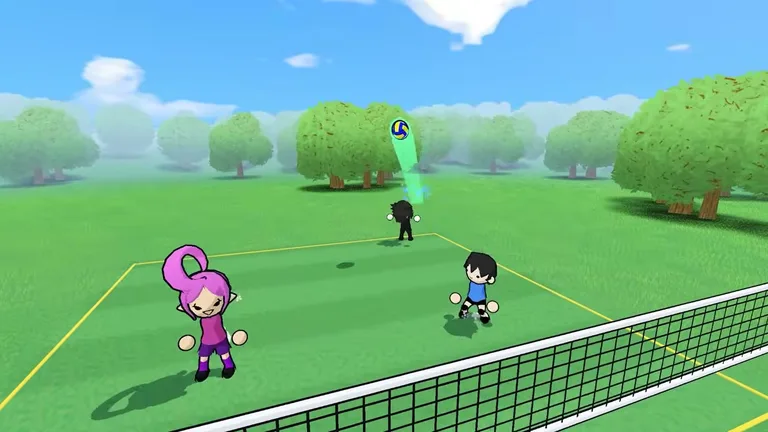
Stepping onto the court in just volleyball adapts the foundations of volleyball into an intense arcade sports competition. Gaining consistency on the hardwood begins with core court mechanics before moving into specialized aerial techniques. Players can study core touch rules and beginner basics to prepare for their first serve.
Table of Contents
- Formats and match setup
- The cursor system
- Three touches and rally flow
- Reach marker and ball cues
- Movement and stamina
- Serving fundamentals
- Receiving and diving
- Setting distribution
- Spiking and attacking
- Net defense
- Rules that end rallies
- Cameras and controls
- Practice drills and customization
- Summary of rally actions
Formats and Match Setup
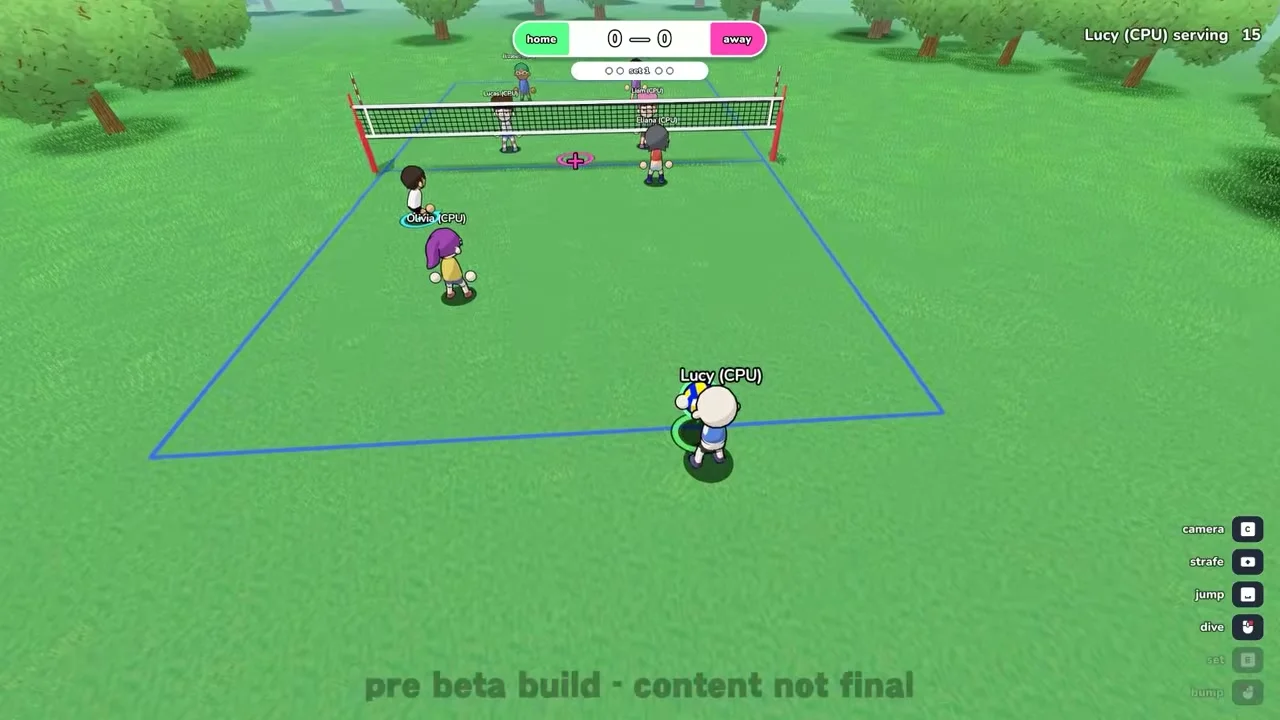
Traditional sport structures place two squads on opposite sides of a net attempting to ground the ball. The game delivers flexible roster options allowing solo duels as well as full six against six team competitions. Lobby hosts can modify point thresholds and activate gameplay modifiers to alter match tempo. Review how to play with friends to configure private custom lobbies. Players can also try playing offline vs cpu to sharpen fundamental timing without queue pressure.
The Cursor System
Every physical ball contact across the court is steered by the precise position of your reticle. Passing and offensive spikes follow cursor placement roughly 100 percent of the time. Defensive blocking exhibits more variability and requires situational positional awareness. Consult our breakdown on how the cursor works for reticle aiming tips.
Three Touches and Rally Flow
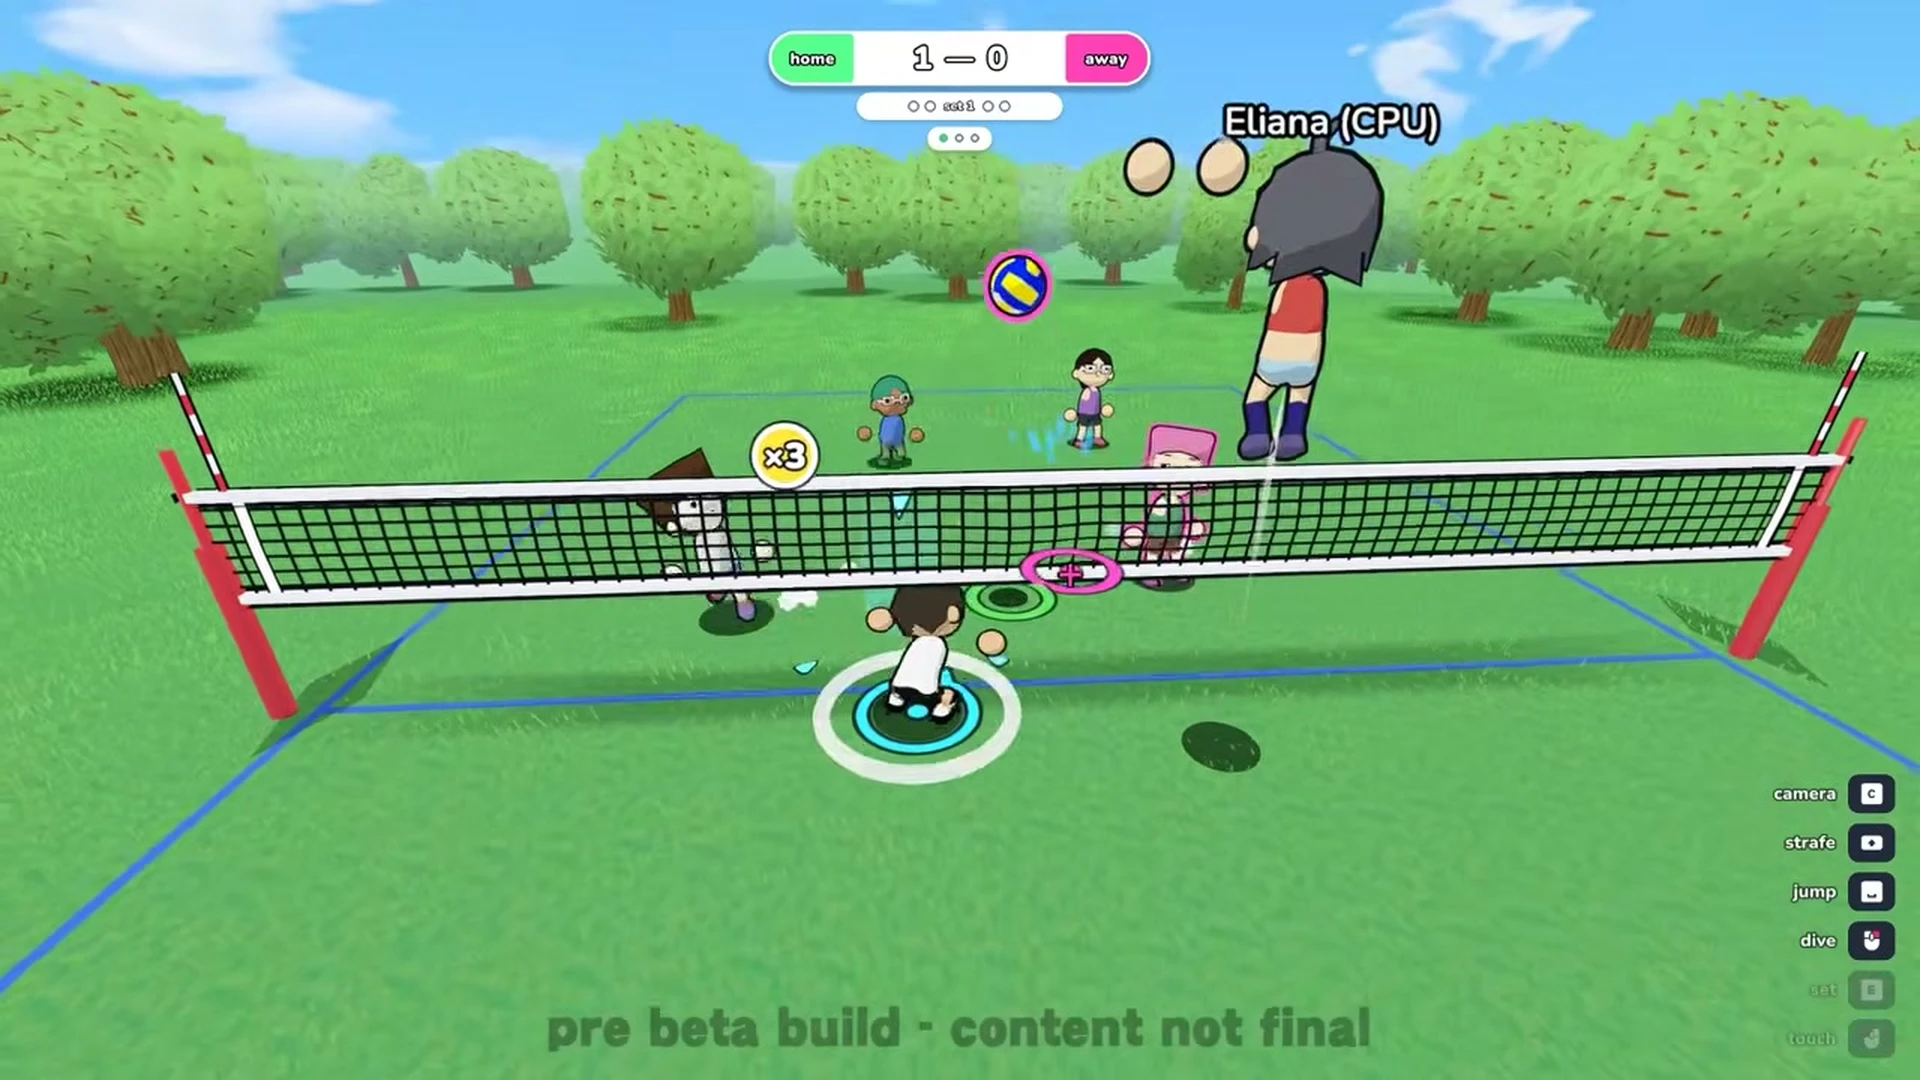
Each squad receives a maximum limit of three contacts to return the ball over the net. A defensive deflection at the net does not consume a team touch allowance. During multi-player team matches, no athlete is permitted to strike the ball two consecutive times. Solo duels represent the only exception, granting an isolated athlete three personal touches. Read our guide explaining how many touches in a rally to avoid sequence infractions.
Reach Marker and Ball Cues
The ring beneath the ball changes from green to red as its trajectory approaches floor level. A floor projection indicator highlights the exact landing point where the volleyball will strike. An x symbol displayed beneath the sphere indicates that you have taken your contact and cannot touch it again immediately. Directional arrows on the sphere indicate whether incoming hits are actionable or queued. Right after an offensive spike occurs, the ball glows blue momentarily. While emitting this blue glow, no player can strike it midair, although ground receives and net blocks remain active. Explore visual feedback states in our guide on what the reach marker means.
Movement and Stamina
Basic court navigation relies on standard directional movement across the playing surface. Activating strafe eliminates horizontal momentum instantly while keeping your athlete facing directly toward the reticle. Sprinting increases running speed across the floor but steadily depletes your stamina reserve. Releasing your leap when the charging gauge flashes white triggers a high-elevation bam jump.
Only diving and sprinting expend points from your player stamina gauge. Depleting stamina entirely causes your character to enter burnout. Remaining completely stationary represents the most rapid method to recover depleted stamina. An athlete knocked to the ground during burnout cannot stand until stamina refills roughly one third of capacity. Learn footwork mechanics in our breakdowns of strafing, sprint and stamina, and bam jump.
Serving Fundamentals
Opening play requires launching the ball upward from behind the court baseline. Holding the contact input charges the upward height of your opening toss. A standard serve bumps the ball safely over the net from a stationary position. Executing a jump serve demands tossing forward, approaching with speed, and striking the ball at the apex of elevation. Striking an airborne toss while tilting backwards produces an erratic jump floater. Master opening tosses with our breakdowns of the jump serve and the jump floater.
Receiving and Diving
Defensive reception relies primarily on proactive court positioning relative to incoming attack angles. Remaining stationary while receiving stabilizes contact quality when holding contact. Activating dive causes your athlete to lunge automatically toward the projected landing location. Players only need to direct their cursor toward the target teammate to steer the recovery pop. Review back-row defensive strategies in our guides on how to dive and receiving a spike.
Setting Distribution
Tapping set performs a soft, high toss landing directly where your reticle points. Targeting directly over your character while charging set initiates a soaring high set. Charging set while aiming away from your player delivers a fast quick set across the net. Activating jump set midair lets distributors alter passing tempo and align cleanly with spikers. Tilting forward while jump setting near the net enables a setter dump to score on second contact. Explore distribution mechanics through quick set, high set, and setter dump.
Spiking and Attacking
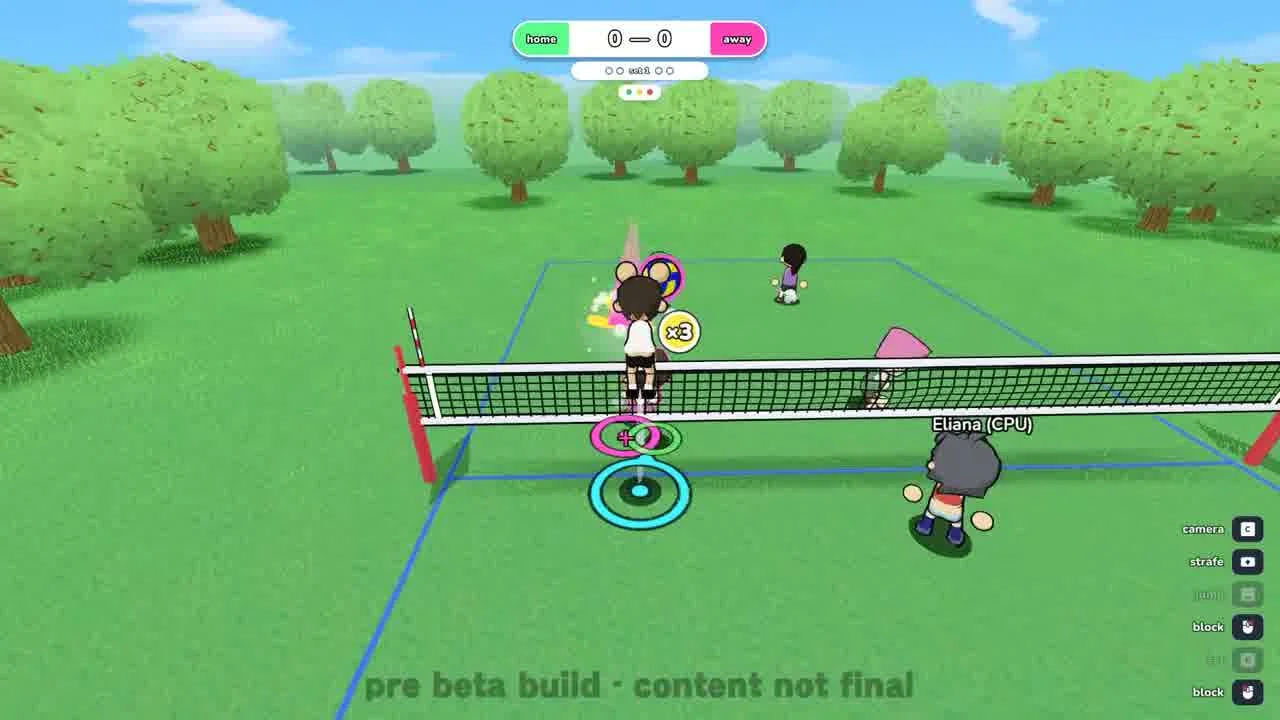
Spiking requires jumping airborne and releasing contact aimed into the opponent court. Contacting the volleyball precisely at the apex of elevation yields maximum attack power. Approaching with forward run-up speed imparts additional velocity onto your offensive strike. Tilting left or right midair curves the ball trajectory away from front-row net blockers. Tilting forward produces a flatter and faster trajectory across the net. Refine offensive approaches in our guides on how to spike harder and how to tilt a spike.
Net Defense
Net defense requires leaping airborne before presenting hands against opposing spikes. Defenders can shift their hands midair once toward the left or right. Clean block timing drives the ball straight down toward the cursor. Contacting near hand centers produces a kill block, while edges risk deflection wipes. Blockers must face oncoming hitters to avoid being shattered and knocked to the floor. Master front-row stopping techniques by consulting our dedicated guide on how to block.
Rules That End Rallies
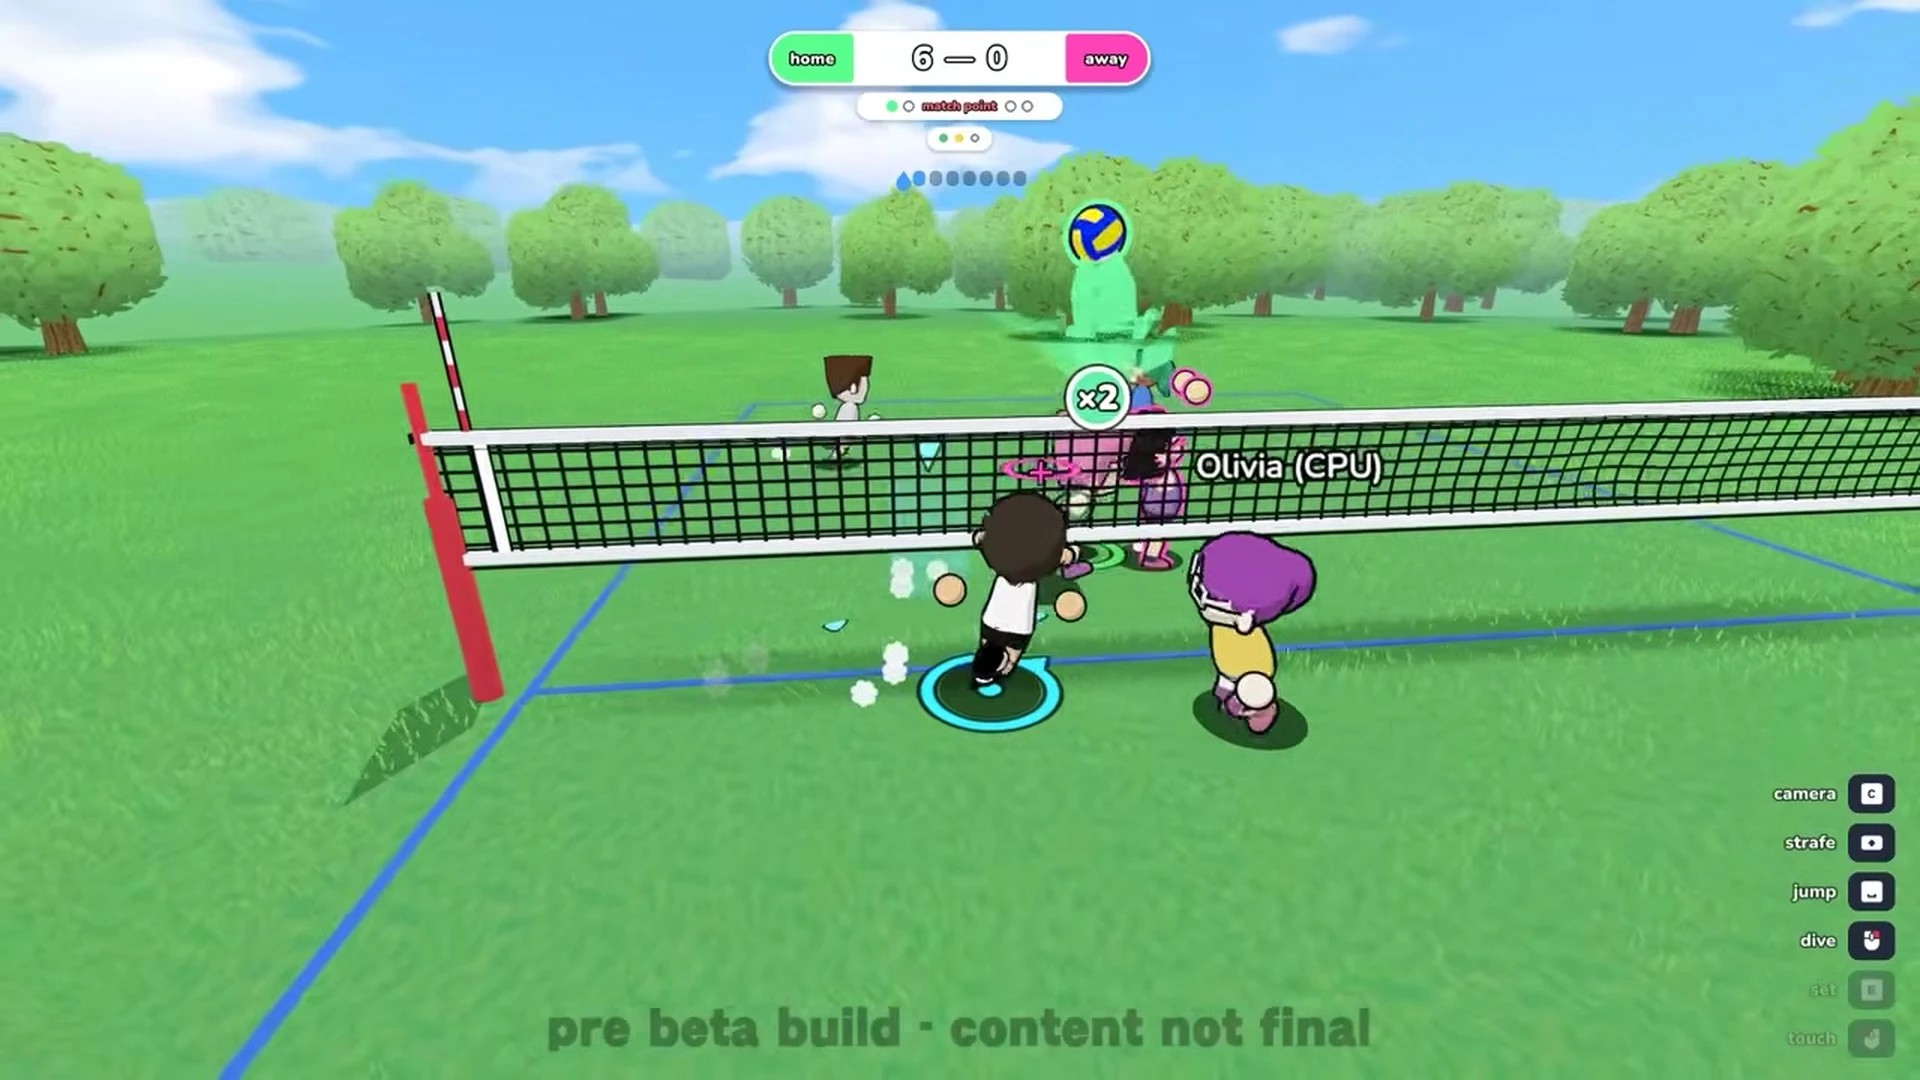
By default, matches feature best of 3 sets contested up to 7 points. Teams alternate court sides after the completion of each set. When squads tie near set conclusion, a deuce triggers until one side secures two consecutive points. Servers must put the ball into play within 15 seconds from the designated baseline zone. Rallies end upon rule infractions including foot faults, boundary antenna strikes, and exceeding touch limits. Examine every penalty condition in every fault explained and understand tiebreak rules in what is a deuce.
Cameras and Controls
Players can toggle between standard following angles and a broadcast camera view. Camera distance can be zoomed in or out to improve broad court awareness. Controller users steer aiming with the right stick, retaining reticle placement until adjusted. Pressing aim recenter immediately snaps your targeting reticle directly under your athlete. Gameplay settings offer aim assist, set assist, and sprint toggle options. Adjust preferences through our guides on camera and zoom, controller setup, and aim recentering.
Practice Drills and Customization
Entering freeplay mode provides an isolated training environment to practice newly learned skills. Participating in matches rewards player experience and coins for the locker shop. Athletes can spend earned coins to purchase vanity accessories and display titles. Gear options include headpieces like  antennae which cost 1000 coins. Training modules include the movement and strafing drills catalog. Explore training routines through our drills catalog to build consistent timing. Learn cosmetic unlocked costs in titles, accessories, and title effects.
Summary of Rally Actions
Consult our core gameplay techniques guide to compare all rally executions across match situations.
| Action | Input | Role | Guide |
|---|---|---|---|
| Serve | L-Click / RT | Start | serve |
| Receive | L-Click / RT | First | receive |
| Set | E / X | Setup | set |
| Spike | L-Click / RT | Attack | spike |
| Block | Air hit | Defense | block |
| Dive | R-Click / B | Save |
dive |
Additional Guides and Database Resources
Review our how to play guide for foundational three touch rules and court guidelines. Adjust bindings and assist features by visiting our controls and settings guide. Learn progression mechanics and cosmetics in our customization guide and check release date and price details. Explore complete entity data in our database hubs for controls, titles, accessories, title effects, and drills.